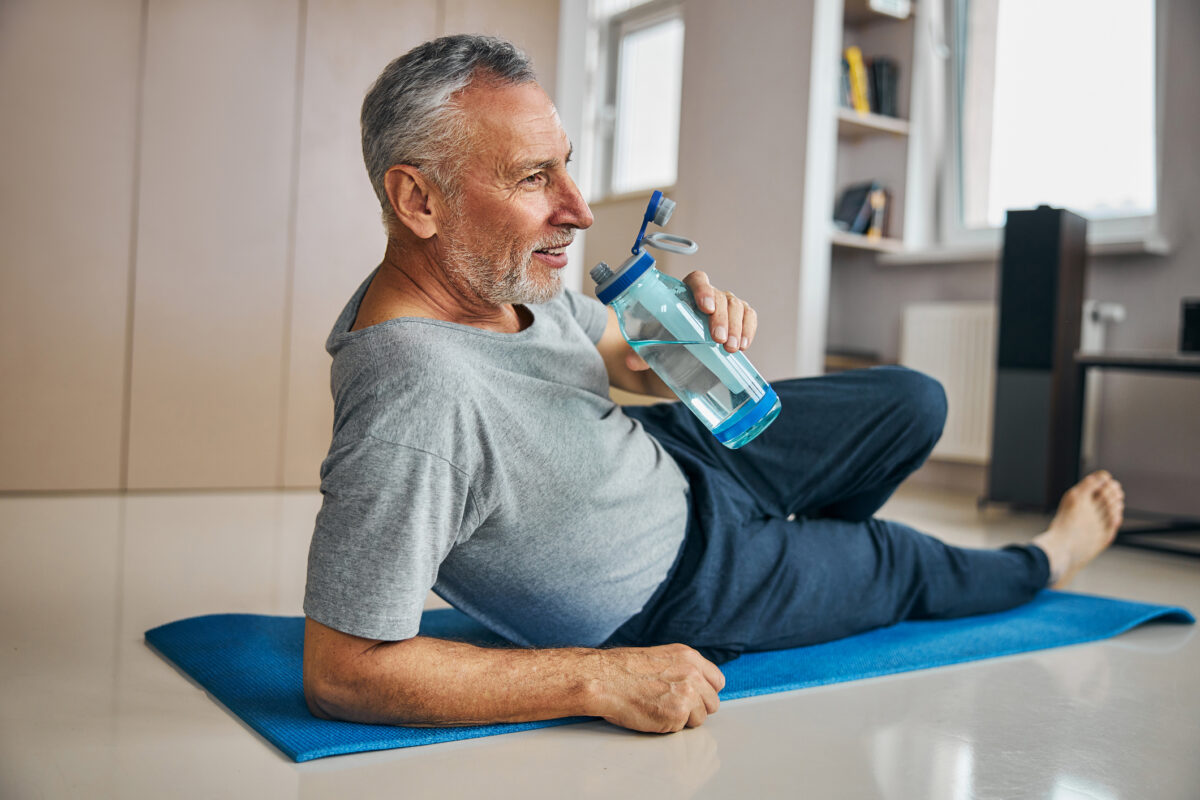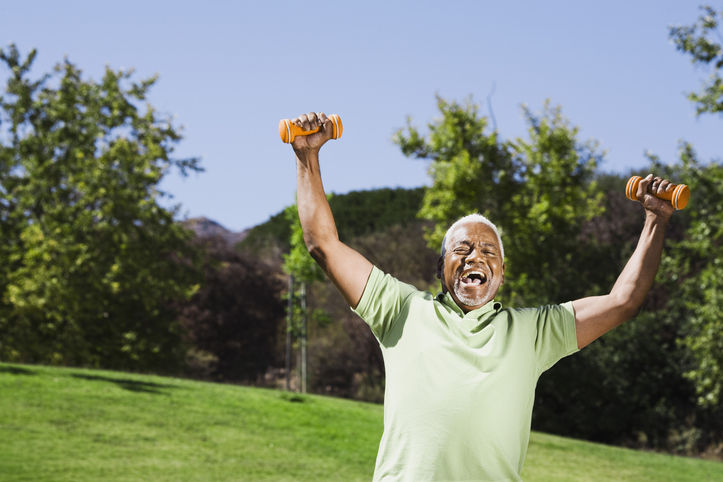

Gym class was a polarized experience for most people. For some, it was a great change of pace from the boredom of sitting in class all day. For others, it was an awkward, sweaty, smelly drag. Regardless of whether you were the Mohammed Ali of dodgeball, or the last picked for every team, you can still benefit from some of your gym class calisthenics. These three exercises from the days of dodgeball and rope climbing are a fantastic way to get in shape, move better and stay healthy.
Lunge Stretch
The lunge stretch is one of the best ways to loosen up your tight hip flexor muscles. If you’re struggling with back pain, tight hip flexors may be the culprit. These are the muscles that run across the front of your hip. There are several muscles that make up the hip flexor group. One muscle in particular that is worth mentioning is the psoas. (Pronounced “so as.”) The psoas connects at the top of your thigh, runs through the inside of your pelvis and attaches to the inside of your lower spine.
When you sit down, this muscle goes into a shortened state and contracts. If you stay sitting long enough, the muscle will want to remain in this tightened state. If this muscle gets tight, it can end up pulling on your lower spine and causing low back pain. The lunge stretch is a great way to loosen your psoas and possibly relieve discomfort in your back.
How to do the lunge stretch:
- Begin by standing with your feet shoulder width apart.
- Slide your right foot back by a distance of two feet. (Your anatomical feet, not the 12 inches.)
- Tighten your stomach as if you’re about to get punched in the gut.
- Bend your front knee and shift your weight towards the front foot. You should feel a stretch in the front of the hip of your rear leg.
- Hold this stretch for 30 seconds and then switch legs.
Make sure that both feet stay flat on the ground during the stretch. Also, turn the rear foot out to a 45° angle.
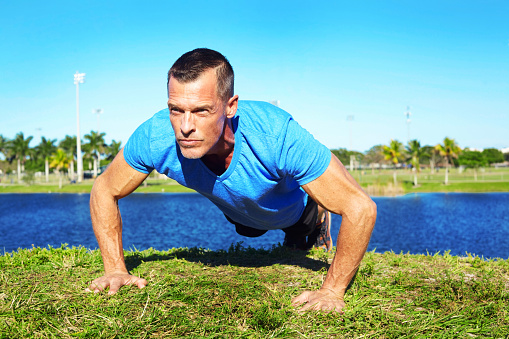
Push-Ups
Push-ups are much more than just a chest exercise. If done correctly they can strengthen your core and hip muscles and stabilize your shoulders and neck. Best of all, you can do them almost anywhere. If regular push-ups are daunting, fear not. You can still get great benefits by doing an elevated pushup. Just place your hands a few steps up on a staircase or on a stable coffee table.
For some people push-ups can cause wrist pain. If you fall into that category, there’s a solution. Take two equal size dumbbells and place them shoulder width apart, the same distance you put your hands if you’re doing a push-up. The dumbbells should be almost parallel to one another. The ends of the dumbbells closest to your thumbs should have slightly intersecting angles. Grip the dumbbells and keep your wrists locked straight. This will protect and strengthen your wrists while doing your push-ups.
How to do push-ups:
- Begin by getting into a plank position with your hands placed directly under your shoulders.
- Keep your neck straight and tuck your chin in as if you are trying to create a double chin. (It’s awkward, I know. But this will help stabilize your neck.)
- Pinch your shoulder blades together and pull them down towards your waist. This will help stabilize your shoulders.
- Brace your stomach as if you’re about to get punched in the gut to stabilize your midsection.
- Inhale through your nostrils and lower yourself to the floor. It should take you 2 to 3 seconds to do this. Keep your chest about 3 inches from floor.
- Exhale through your mouth and press the palms of your hands into the floor and push yourself up. Lock your elbows out.
- That is one repetition.
It’s important that you keep your chin tucked, your shoulder blades pinched and your stomach braced during the entire movement. Choose the difficulty level where you feel you could do 15 push-ups comfortably. (Do push-ups on an elevated surface as described above to make them easier.) Then perform three sets of 10 push-ups at that difficulty. Give yourself a minute rest in between each set.
Jumping Jacks
Jumping jacks used to be a staple for cardiovascular exercise. The popularity of jogging and cardio machines such as treadmills, stationary bikes and elliptical machines have pushed jumping jacks into the background. This is too bad. Jumping jacks not only provide a great cardio benefit, but they also introduce much-needed mobility to your shoulders and thoracic spine.
Your thoracic spine, for those who don’t know, is the section of your spinal cord that your ribs come out of. It’s sandwiched between your lumbar (low back) and cervical (neck) spines. Often, a person’s thoracic spine loses its mobility over time. Particularly, it loses the ability to extend (bend backwards) and rotate.
How to do jumping jacks:
- Begin by standing with your feet together and your hands by your side.
- Pinch your shoulder blades together and pull them down towards your lower back. Brace your stomach as you did with push-ups and tuck your chin into your neck.
- In one motion, kick your legs out to the side and raise your arms up over your head.
- Immediately bring your legs back in and your arms down to your side so you’re in the starting position
- That is one jumping jack.
Start by performing three sets of 20 repetitions. Give yourself a one minute break in between each set. If you feel your heart rate is going too high, you’re having trouble breathing or you are lightheaded, stop doing the exercise. If you feel comfortable with the recommended sets and repetitions, you can always increase the volume. You can increase your sets, or repetitions or both. You can also perform the jumping jacks for time.
Make sure that you keep your shoulder blades pinched, your stomach tensed and your chin tucked while doing your jumping jacks. If you feel that after a few repetitions you are having trouble maintaining that posture, reduce your repetitions. It’s important that you keep your shoulders, midsection and neck stabilized during this movement.
Staying in shape can be expensive. Whether you’re paying for a gym membership or high-end equipment to use in your home, it’s easy for expenses to stack up. With these three exercises, you’ll be able to help add strength, stability, mobility and cardio to your exercise routine. Best of all, you don’t need to head to your old high school gymnasium. You can do these exercises from the comfort of your living room.