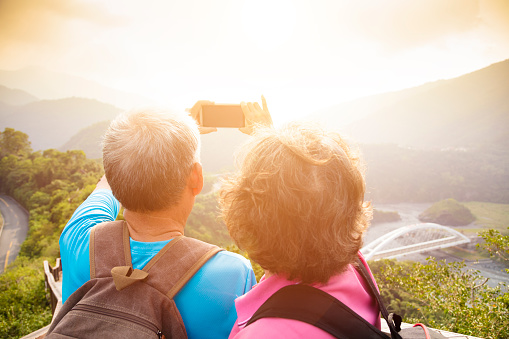

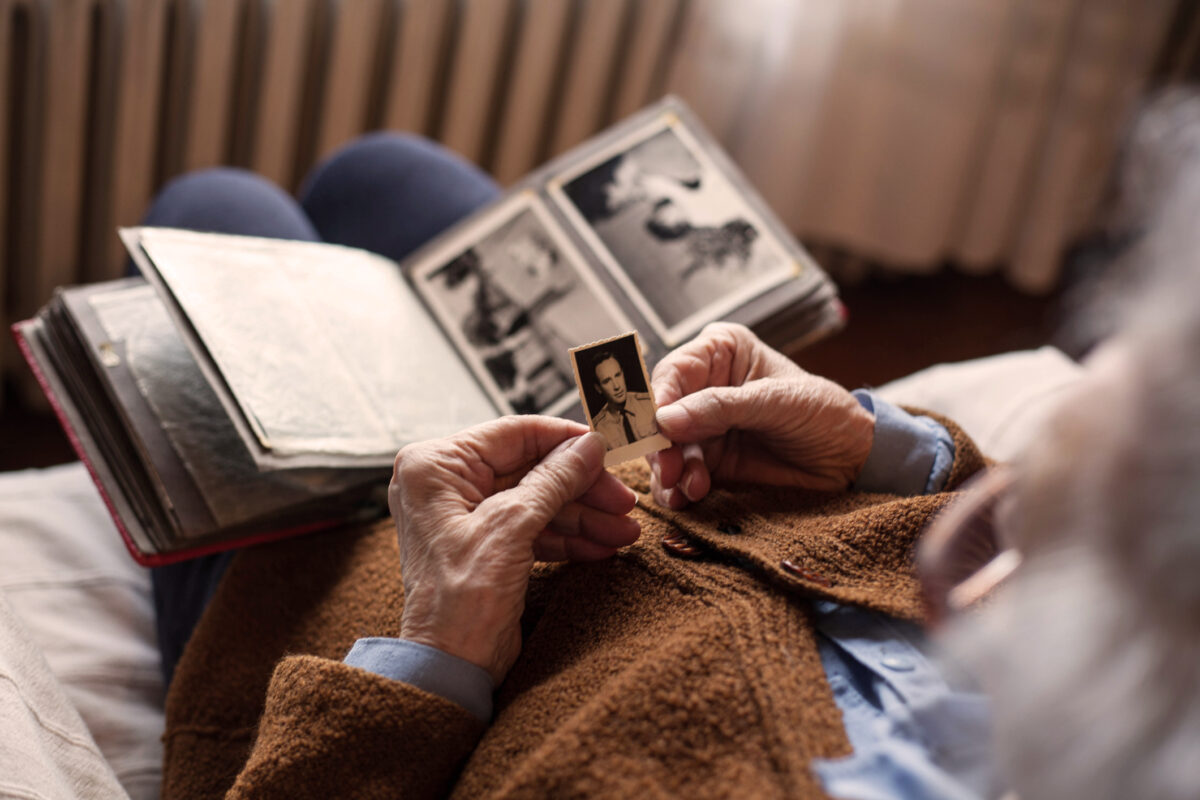
A great moment photographed will always make for a great photograph. It doesn’t matter what the image resolution, composition or lighting is like. Birthday parties, graduations and spontaneous silliness are moments we want to capture forever. Now that our smart phones are equipped with sophisticated digital cameras, we’re more likely than ever to capture these wonderful moments. If you’re looking to go beyond simple point and click photography and make those special moments look a bit more stylish, here’s how to do it with your smart phone.
Adjust The Settings You Didn’t Know You Had
You have a lot more control of your phone’s camera than you may think. Some operating systems give the options to adjust focus, white balance and exposure. If yours doesn’t have these options, you can download camera apps that will allow you to adjust these settings.
Focus tells the camera which depth of field (DoF) on the image should have the most detail. A quick way to adjust the focus is to tap the smart phone screen on the most important part of the subject you’re taking a picture of. For example, if it’s a portrait shot, tap the screen right between the subject’s eyes. Check to see if your camera’s phone can adjust DoF. The larger the DoF, the more of the shot will be in focus and detailed. Ansel Adams great landscape photography demonstrates his mastery of the use of large depth of field. You can also create a shallow DoF and have your main subject clearly in focus and everything else out of focus. This can create a very unique portrait effect.
White balancing refers to adjusting or balancing the temperature of an image’s color so it appears more natural. Lighting conditions can cause color casts in photos. Indoor lighting creates images overcast with warm hues such as orange, pink or yellow. Outdoor lighting is cooler and casts a blue tone to images. Setting the white balance on your camera can help bring color temperatures in line with how we naturally perceive them. This way, indoor photos won’t have an unnatural red tint and outdoor photos won’t have a blue tint. You can also get creative with this feature. For example, you can purposely make a snow landscape more imaginative using the cool blue cast. Or you can make a room lit by a glowing fireplace feel cozier with an image cast in a warm red.
Exposure describes the amount of light that the camera shutter lets in when it takes a photo. The longer and wider the shutter is open, the more light it lets in – thus the higher the exposure. Long exposure photography is great for photographing stationary subject matter. Which means subjects must remain still while a high/long duration exposure photograph is taken. Otherwise, the image will be blurry. Of course you can take artistic advantage of this effect as well. When taking action shots, sometimes a slight blur can enhance the feeling of motion in a photo.
Lighting 101
Use Natural Light or Adjust Settings. Don’t Use Flash. The flash on smart phones is almost always too harsh. It tends to blowout images with too much hard light. Also, good lighting rarely comes from directly in front of the subject. Do what you can to increase the natural light on your subject. Have the subject sit closer to a window, open the curtains or go outside if possible.
If those options aren’t available, adjust the exposure on the phone’s camera. The longer the shutter is open, the more light it will let in. Any movement can result in blurry photos, though. So use a tripod or stand if you can. It’s also recommended that you turn off High Dynamic Range (HDR). HDR can sometimes produce unnatural results in low light settings.
Use the Rear Camera. The front facing selfie camera is for video chat. The rear facing camera is for taking photos. It uses more megapixels and can produce crisper images.
Use Expressive Lighting. Expressive lighting is the technique of using lighting to create a mood. A portrait where almost half of the subject’s face is cast in shadow can give a serious, pensive tone. A portrait where the subject’s face is cast with few shadows and a shimmer of white light on the contours of the face can evoke a sleek, commercial feel.
There are many lighting tricks to you can use to enhance your photos. You can take a branch with leaves on it and hold it between your subject and main light source. This can create broken light across your subject and enhance the illusion that the photo is being taken in nature. You can add a little light behind a well-lit subject to enhance the illusion of depth and have the subject pop out of the photo. There are so many creative ways to set mood.
Another trick is to reflect a little bit of light in your subject’s eyes. This is called key light. It makes the subject appear more lifelike. Any good movie will have key light in the main characters’ eyes. Without it, subjects appear lifeless and dull.
Understand Composition
The rule of thirds. Humans love when things are divided into threes. This includes photo composition. Most phones offer a grid feature on their camera. The grid places four equally spaced lines across the screen. Two of them are horizontal and two of them are vertical. This divides the composition into thirds.
Composing your shot along these lines can make for a more appealing image. If there is a horizon in your photo, line it up with one of the two horizontal lines. If there is a strong vertical line in your photo, such as the edge of a building, line it up with one of the two vertical lines. Place the main subject of your photo on one of the four intersections between the horizontal and vertical lines.
Don’t Zoom. Most smart phones have a digital zoom. This is very different from a telescopic zoom in professional cameras. Digital zoom often produces terrible results. This is because it doesn’t actually zoom in on the image. Instead, it enlarges the image which spreads out the pixels. The pixels spread to the point where there are gaps in between them. The digital camera then guesses what the gaps between the pixels should look like and fills them in. This can result in poor image quality.
Instead of zooming, take the photo and crop it later. Because your smart phone camera probably has about eight megapixels, the images can handle being enlarged to a certain degree. With this method, you’ll get much higher quality images than if you zoomed.
Add-on Equipment
Use A Tripod Or Stand. Camera shake is the enemy of a good photo or video. Professional cameras are certainly heavier than smart phones, but they are easier to stabilize with your arms and hands. If you want to take professional looking photos or videos on your smart phone, try using a tripod or stand. You’ll need a special case, or attachment, to mount your phone on the tripod. These cases usually run around $30. Fortunately, you don’t need a heavy-duty tripod for a smart phone. You can buy a lightweight tripod for around $60. There are also small, flexible stands available that you can wrap around ledges and railings.
Keep Your Lens Clean. Who cares about megapixels if your camera lens is covered with grease and dust? Before snapping a photo, wipe your lens with a microfiber cloth or damp Q-tip to remove any grime. Something as simple as this can dramatically increase the clarity of your picture.
You can take it a step further and buy a water and dust resistant phone case. These cases are slim and protect your phone from water and dust. They still allow you to use the touchscreen, speak into the microphone and hear clearly through the speakers. You can even shoot photos with the case on. But if you’re looking for the clearest high quality photo, consider taking the case off when it’s time to start snapping photos.
Add A Lens. Okay, you can’t zoom with a digital lens. But you can add a zoom lens to your digital lens. Companies like Mobi-Lens make camera lenses you can slide over your smart phone. These lenses include zoom, fisheye and wide-angle. They’re so small they can fit in your pocket. Because they’re delicate, you’ll want to keep them in a case. You can also buy large telescopic lenses that can fit over your phone. These are great if you want to take pictures of wildlife from a distance. Note that most smart phone lenses require that you use a compatible case or no case on your phone.
Use Remotes or Timers for Photos. Sometimes you’ll want to use a remote or timer to take your photos. Pushing the shutter button on your phone screen to take a photo can jostle the phone. This results in an unfocused photo. You can fix this by using a timer or remote.
The latest iPhone operating system has a timer you can set on the camera. Set the timer to three seconds. Push the shutter button. Steady your hands. And then the camera takes the photo. The timer can come in handy if you’re taking a group photo that you want to be in. You can also plug-in your headphones and push the + volume button on the headphones to take a photo (when the camera app is open).
Using remotes can also come in handy when photographing wildlife. Perhaps you want to photograph a squirrel eating seeds. You can place seeds where you want to take the photo. Set up your camera so it’s facing the seeds. Attach the headphones or corded remote. Then position yourself so you are out of sight. When the critter comes along to take the seeds, you can use the remote to take a photo. This is an elementary example of using remotes to photograph wildlife. But wildlife photography is one of the main reasons for using camera remotes.
Remember, you don’t need the most expensive digital camera in the world to take a great photo. And the most expensive camera in the world can’t make an unskilled amateur a great photographer. However, you can follow these tips and take your smart phone camera photography to the next level. And if the photography bug takes hold of you, you can always upgrade to a high quality DSLR. And the skills you learn here set a strong foundation and are applicable no matter what type of equipment you are using. Enjoy capturing memories with style and creativity!
The Hartford does not endorse or have any association with the products and/or services referenced.
Keep Reading: From Passwords to Photos: How to Manage Your Digital Life


I’ve started taking some photos of our detailing works for the cars and trucks. I’m practicing using the smart phone and it is really tricky to get good shots from natural light. Just got to finish installing the parts from 4WheelOnline before I can get an entry-level camera.
Great advice for finding good natural lighting Diether. Thank you.
Very helpful… what brand of add on lens would you suggest ? Harry